Table of Contents
Have you ever wondered if you can look at the Sun with a telescope? The answer is yes, but you must take the appropriate precautions for safe viewing.
Observing the sun can be dangerous because it emits intense light and heat and harmful ultraviolet and infrared radiation.
Directly looking at the sun, even for just a few seconds, can cause permanent eye damage or blindness. This is true whether you’re looking at the sun with your naked eye, binoculars, or a telescope.
Therefore, it’s important to take the necessary precautions and use specialized equipment to protect your eyes when observing the sun.
Selecting Which Telescope to Use
Common Telescopes are Suitable for Solar Observation
The most common types of telescopes, that amateur astronomers possess, are suitable for solar observation.
- Refracting telescopes are the most common type of telescope for solar observation, and they use lenses to focus light. They are easy to use and provide crisp and clear images of the sun.
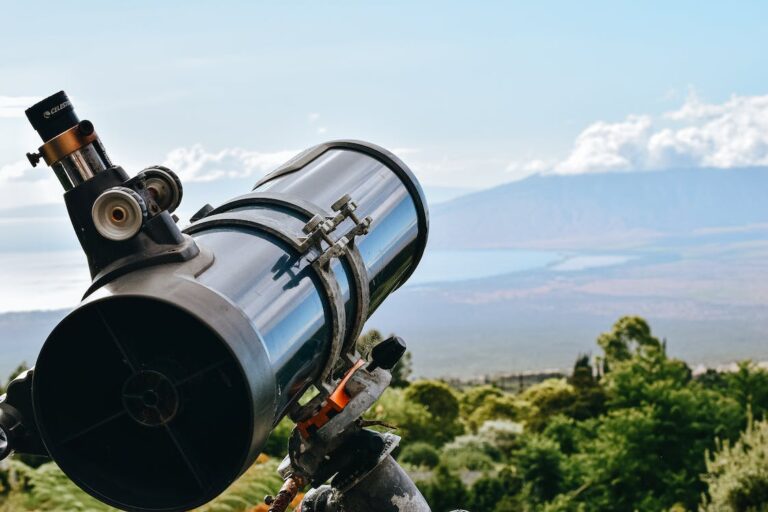
- Reflecting telescopes use mirrors instead of lenses to reflect light, and they offer a wider field of view and are less expensive than refracting telescopes.
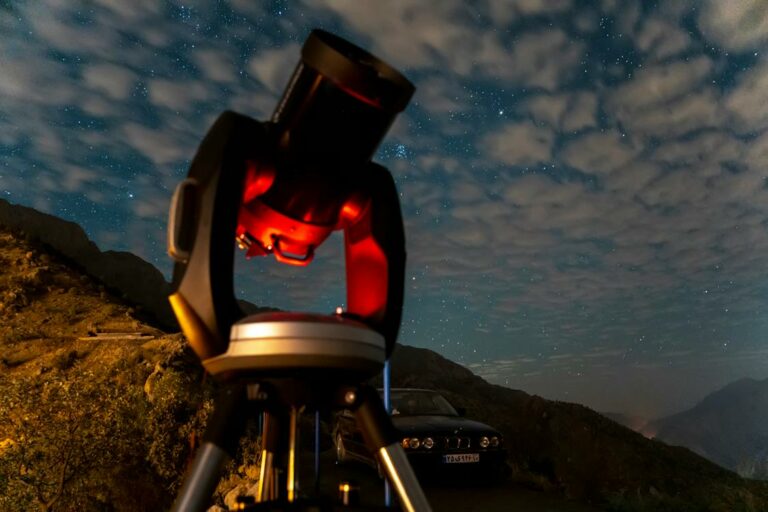
- Catadioptric telescopes use a combination of mirrors and lenses to reflect and focus light. They can be compact and provide high magnification, making them a popular choice for solar observation. However, they can be expensive and have a narrower field of view than other types of telescopes.
Choosing the Aperture Size
The aperture size of a telescope is the diameter of the objective lens or primary mirror, and it plays a critical role in the telescope’s light-gathering power and image quality.
- For solar observation, a telescope with a larger aperture is generally better, as it allows you to observe more details on the sun's surface and in its atmosphere.
Larger apertures can be more expensive and heavier, making them less portable and harder to set up. The optimal aperture size for solar observation depends on your budget, observing goals, and experience level.
If you’re new to solar observation or have a limited budget, a smaller aperture telescope can still provide satisfying views of the sun.
If you’re more experienced and have a larger budget, a larger aperture telescope can offer more detailed and stunning views of the sun’s surface and activity.
Keep in mind that regardless of the telescope’s aperture size, you should always use the proper solar filters to ensure safe observation.
Setting up to Look at the Sun with a Telescope
Proper Alignment and Calibration
- The first step in alignment is to level the tripod or mount on which the telescope is mounted.
- Next, point the telescope at a distant object, such as a tree or a building, and center it in the eyepiece.
- Then, adjust the alignment screws until the object remains centered as you move the telescope up and down and left and right.
- Once the alignment is set, calibrate the telescope's finder scope or red dot sight to match the telescope's field of view. This can be done by selecting a bright star or planet, centering it in the telescope's eyepiece, and adjusting the finder scope or red dot sight until the object is also centered.
Ensure this is done the night prior so you are ready for daytime observation.
Calibration is important for finding the sun and tracking it as it moves across the sky. If your telescope has a motorized mount, make sure to set it to the correct tracking speed and adjust the focus as the sun moves closer or further away from Earth.
Selecting the Right Eyepiece to Observe the Sun with a Telescope
The magnification of a telescope is determined by the focal length of the telescope and the focal length of the eyepiece.
A longer focal length eyepiece will provide a lower magnification, while a shorter focal length eyepiece will provide a higher magnification.
- For solar observation, it's generally recommended to use a lower magnification eyepiece to provide a wider field of view and reduce eye strain.
A good starting point for magnification is to use an eyepiece that provides a magnification of around 30-40x per inch of aperture. For example, a 3-inch telescope would use an eyepiece that magnifies 90x-120x.
In addition to magnification, the field of view of the eyepiece is also important for solar observation.
A wider field of view allows you to see more of the sun’s surface and activity, while a narrower field of view can provide more detail on specific features.
Eyepieces with a wider field of view are generally more expensive, but they can be worth the investment if you want to capture stunning views of the sun with a telescope.

Using Filters for Safe Observation
- Filters are essential for safe solar observation, as they protect your eyes and equipment from the sun's intense light and heat.
Different Filter Materials
There are different materials for solar filters available, including solar film, solar glass, and metal-coated filters.
- Solar film is the most affordable and widely used type of filter, and it can be easily cut to size and attached to the telescope.
- Solar glass filters are more durable and provide better contrast than solar film, but they are more expensive.
- Metal-coated filters, such as hydrogen-alpha and calcium-K filters, are the most advanced and expensive types of filters, and they allow you to observe specific wavelengths of light that reveal details of the sun's surface and atmosphere.
In addition to the solar filter, it’s also recommended to use a dew shield or heater to prevent moisture from accumulating on the telescope’s optics, and a white light filter to observe sunspots and other features in visible light.
Types of Filters Available and Pros and Cons
Full-aperture filters: designed to cover the entire aperture of the telescope. These filters are available in various materials, including glass and film, and provide a safe and clear view of the sun with a telescope. Full-aperture filters are easy to install and remove, but they can be more expensive and can reduce the amount of light entering the telescope, which can affect the brightness and contrast of the image.
Advantages
Provide a safe and clear view of the sun’s surface
Easy to install and remove
Available in various materials, including glass and film
Offer good protection for your eyes and equipment
Disadvantages
More expensive than other types of filters
Can reduce the amount of light entering the telescope, affecting brightness and contrast
Off-axis filter: which is placed off-center of the telescope’s aperture to reduce the amount of light entering the telescope. Off-axis filters are less expensive than full-aperture filters and provide a high-contrast view of the sun with a telescope, but they require precise alignment and can be more challenging to use.
Advantages
Less expensive than full-aperture filters
Provide high-contrast views of the sun’s surface
Can be effective for observing specific features, such as sunspots
Disadvantages
Require precise alignment for optimal results
Can be challenging to use
May not be suitable for all types of solar observation
Narrowband filters: allow for the observation of specific wavelengths of light emitted by the sun. These filters are ideal for observing solar flares, prominences, and other features, but they can be more expensive and require a larger aperture telescope for optimal results.
Advantages
Ideal for observing specific features, such as solar flares and prominences
Provide high-contrast views of the sun’s surface
Available in various wavelength ranges for customized observation
Disadvantages
More expensive than other types of filters
Require a larger aperture telescope for optimal results
Not suitable for all types of solar observation
Built-in solar filters: Some telescopes may also include a built-in solar filter or “solar safe” technology that allows for safe solar observation without the need for additional filters.
Advantages
Convenient and easy to use
May be included with some telescopes
Provide good protection for your eyes and equipment
Disadvantages
May not be suitable for all types of solar observation
Require careful attention to manufacturer’s instructions for safe use
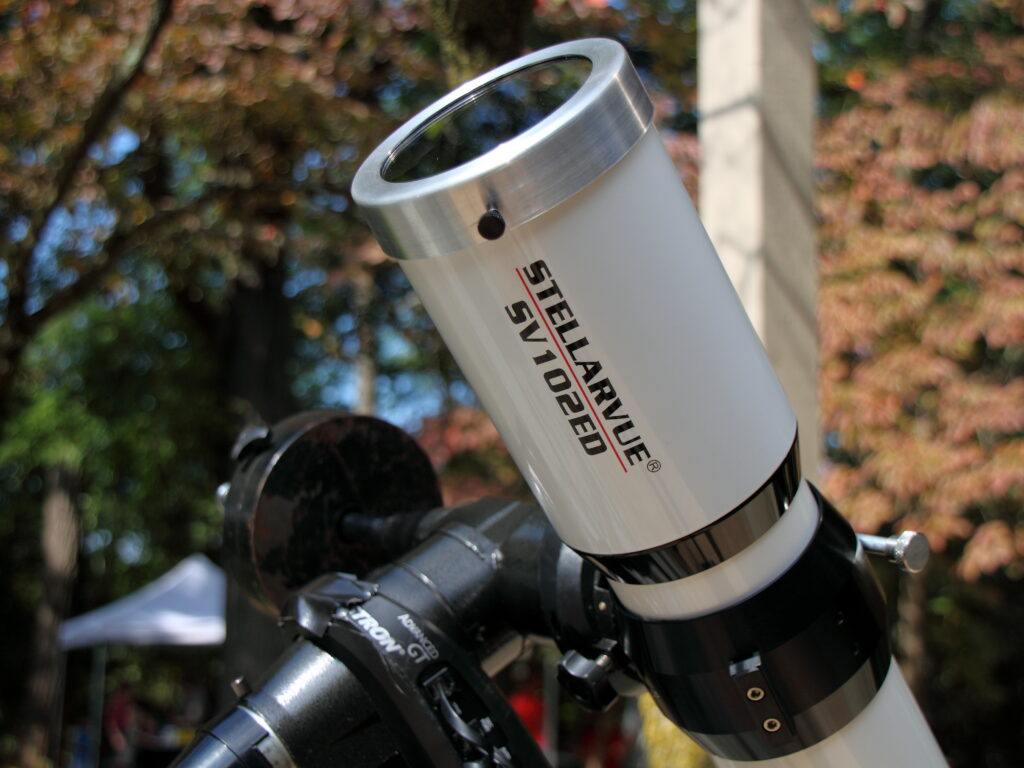
Here is an example of a high quality solar filter. This filter adheres to the ISO 12312-2:2015(E) safety standard, ensuring certified and secure direct viewing of the Sun. Compatible with Celestron 6” Schmidt-Cassegrain telescopes, the filter features two hook and loop straps for a safe and snug fit. Crafted with American-made Celestron Solar Safe film, independently tested for safety, the filter produces a natural orange-tinted view ideal for both visual observation and image capture. Witness eclipses, study sunspots, and explore the Sun confidently with the Celestron Solar Safe Telescope Filter.
How to Use Filters Properly
Using a solar filter is an essential step in safely observing the sun with a telescope. Here are some tips for using filters properly:
- Always ensure that the filter you're using is specifically designed for solar observation. Do not use filters that are not specifically designed for solar observation, as they may not provide adequate protection.
- Ensure that the filter is securely attached to the telescope, covering the entire aperture. Any gaps or looseness can allow harmful radiation to enter the telescope.
- Before observing, inspect the filter for any cracks, scratches, or damage. Do not use a damaged filter, as it may not provide adequate protection.
- When observing, ensure that the filter is in place at all times. Never remove the filter or point the telescope at the sun without the filter securely in place.
- Avoid touching the filter with your fingers, as oils and dirt from your skin can damage the filter or create hot spots that can damage your eyes or equipment.
- Avoid looking directly at the sun with your naked eyes, even with the filter in place. Always use the telescope to observe the sun.
- Be sure to follow all safety guidelines, including proper use of filters, appropriate clothing and eyewear, and proper alignment and calibration of the telescope.
Observing the Sun with a Telescope
Choosing the Right Time to Observe
When it comes to observing the sun with a telescope, the time of day can have a significant impact on the quality of your observation. Here are some tips for choosing the right time of day for solar observation:
Avoid observing the sun during sunrise or sunset, as the angle of the sun's light can cause distortion and affect the clarity of your observation.
Aim to observe the sun when it is high in the sky, ideally around midday or early afternoon. This is when the sun is at its highest point in the sky, and its light passes through the least amount of atmosphere, providing the clearest view.
Be mindful of local weather conditions. Cloudy or hazy conditions can affect the clarity of your observation, while high winds can cause your telescope to shake, affecting stability and focus.
Consider the time of year. The position of the sun in the sky changes throughout the year, so it's important to be aware of the best times for observation in your region. Generally, the best time for solar observation is during the summer months when the sun is highest in the sky.
Adjusting Focus and Magnification
Achieving the correct focus and magnification is essential for obtaining clear and detailed images of the sun with a telescope. Here are some tips for adjusting focus and magnification:
- Begin by adjusting the focus of your telescope. Use a low-magnification eyepiece and adjust the focus until the image of the sun is sharp and clear. You can use a focusing mask or a Bahtinov mask to assist with achieving sharp focus.
- Once you have achieved sharp focus, you can adjust the magnification to suit your needs. Use higher magnification eyepieces to magnify the image of the sun and observe finer details, such as sunspots, flares, and prominences.
- When using high-magnification eyepieces, it's important to be mindful of the effects of atmospheric turbulence and air currents. These factors can cause the image to appear shaky or blurred. Consider using a lower magnification or wait for better viewing conditions if this occurs.
- If you're using a solar filter, be sure to adjust the focus and magnification after attaching the filter, as the thickness of the filter can affect the focus and magnification.
- Remember to adjust the focus and magnification periodically throughout your observation, as the position of the sun in the sky can change as the day progresses.
In conclusion, observing the sun with a telescope can be a fascinating and rewarding experience, but it’s important to prioritize safety and follow the proper guidelines to prevent serious injury and equipment damage.
By selecting the right telescope, filters, and eyepieces, and following best viewing practices, you can capture clear and detailed images of the sun while minimizing the risks associated with observing the sun with a telescope.
Remember to always prioritize safety, follow the guidelines for solar observation, and enjoy the beauty and wonder of our nearest star with the proper precautions.

Andrew
With years of experience and a passion for exploring the cosmos, I want to be your go-to destination for all things celestial. My mission is to bring the wonders of the universe to your fingertips and demonstrate how the art of stargazing and telescope therapy can nurture not only your astronomical curiosity but also your mental health. Explore the cosmos with me and discover the profound connection between the night sky and your inner peace.
We may earn commissions through affiliate links in this post. This means we may receive a small commission if you make a purchase through these links. This comes at no extra cost to you and helps support our site’s content. We only recommend products or services we believe will add value to our readers. Your support is appreciated!

+ There are no comments
Add yours